
Conveyor belts are an indispensable part of operations in many industries – and downtime due to belt damage can quickly become an expensive affair. Fortunately, there is an effective solution that does not require external assistance: a rubber belt repair kit.
In this guide, we show you how to patch a damaged conveyor belt yourself with a complete patch kit. Step-by-step and with a focus on both safety and durability. Whether you work in manufacturing, agriculture, waste management or construction, here you will get a practical method to minimize downtime and extend the life of your conveyor equipment.
Make sure you have the following ready:
✔ Patch kit (patches, sanding disc, glue/cold adhesive, hardener, brushes, hand roller)
✔ Protective equipment (gloves, goggles, respirator)
✔ Cleaning agent (e.g. cleaning fluid)
✔ Marker/white touch and measuring tape
✔ An angle grinder with adjustable speed for mounting the sanding disc
Stop the conveyor belt and make sure the area is safe to work on. This means that the power is completely turned off and you have made a note that it must not be started again as long as you are working on the belt. Remember to take your safety very seriously.
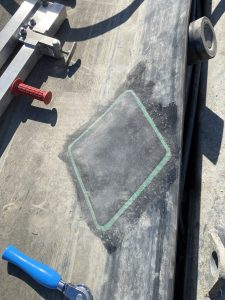
Mark the damaged area and measure the required patch size. The patch should always cover the damage with at least 2-3 cm overlap all the way around.
Clean the area thoroughly with detergent to remove grease, dust and dirt.
Sand the surface with a sanding disc – preferably an angle grinder. Sand until you have a rough and uniform surface, slightly larger than the patch itself.
Clean again to remove sanding dust.
Mix glue and hardener – follow the instructions.
Apply the first layer of glue with a brush to both the tape and the back of the patch. Cover the entire area evenly.
Let the glue dry until it is tacky to the touch (min. 30-45 minutes – depending on temperature and humidity).
Apply another layer of glue and let it dry again to the tack-free point.
Place the patch precisely over the damaged area.
Use the hand roller and roll thoroughly from the center outwards to remove air bubbles and ensure maximum adhesion.
Give it all a thorough press – use extra weight if possible.
Allow the repair to cure for a minimum of 2 hours before light loading – and up to 24 hours before full loading is recommended for best results.
Check the edges of the patch – there should be no loose areas or air pockets.
Restart the conveyor carefully and monitor the repair for the first few minutes.

Do not use patches in areas with direct contact with belt scrapers.
Store glue and patches cool and dry.
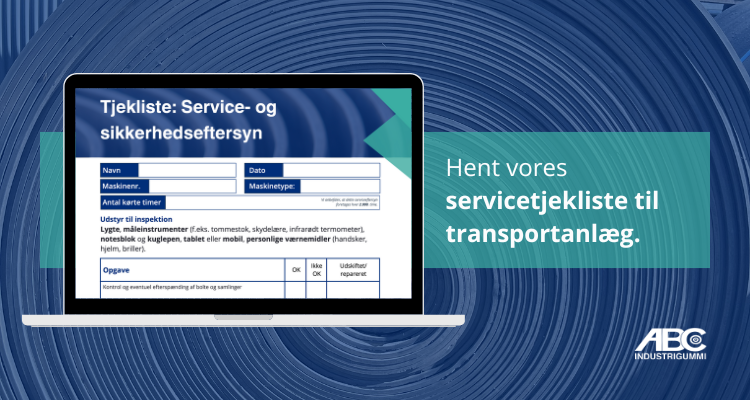
Consider routine belt checks for minor damage and preventive patching. You may also want to use our free service checklist, which you can download here.

Kenneth Saxtorph
If you have a question or need help, you are more than welcome to contact us at:

Opening hours:
Monday to Friday: 7.00 – 16.00
On Saturdays, Sundays and holidays, our 24/7 service is available.
Information
Customer service
ABC Industrigummi ApS - CVR: DK14711198